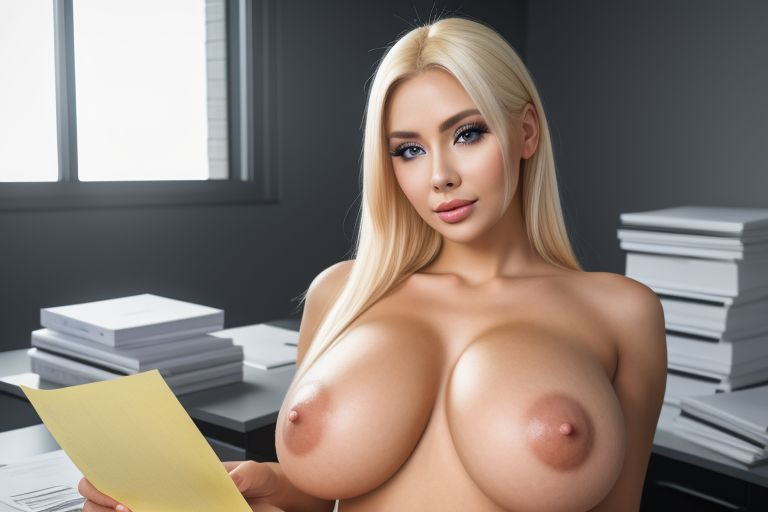
Alright, fellow pervy artists, let’s dive into the (kind of) exciting world of retouching AI-generated smut using the versatile and free software, GIMP (GNU Image Manipulation Program). So, you’ve got this fantastic piece of AI-generated art, but it’s not exactly how you want. It’s close, but there are a couple of things missing. There are goofy little spots over here, an extra finger over there. How do I handle these little tweaks without trying to find my prompts and just redoing the whole thing?
Step 1: Import Your AI Masterpiece
First things first: open GIMP and import your artwork. You can do this by selecting ‘File’ and then ‘Open’ to browse and load your image. Hopefully you have good file structure- and if you’re just getting started, I suggest you figure out a system for your files. You’ll thank yourself later.
Step 2: Assess Your Canvas
Before you start tweaking, take a closer look at your artwork. Identify the areas you want to enhance, modify, or customize. This step is crucial because it helps you envision the final result and guides your retouching decisions.
Step 3: Fine-Tune Colors and Contrast
Let’s kick things off by adjusting colors and contrast. Use the ‘Colors’ menu to experiment with brightness, contrast, and saturation. This step allows you to breathe life into your artwork, emphasizing certain elements and creating a more visually striking composition.
Step 4: Dodge and Burn
Time to bring out the big guns—dodging and burning. These techniques involve selectively lightening (dodging) or darkening (burning) specific areas of your image. Grab the dodge and burn tools, adjust their sizes, and delicately sculpt the light and shadows to add depth and dimension.
Step 5: Smooth Out Imperfections
If your AI-generated art comes with a few rough edges or inconsistencies, fear not! GIMP offers powerful tools for smoothing things out. The ‘Smudge’ tool and the ‘Blur’ tool are your best friends here. Use them to soften lines, blend colors seamlessly, and achieve that polished look.
Step 6: Add Personal Flair with Brushes
GIMP is loaded with an array of brushes waiting to unleash your creativity. Whether you want to add texture, simulate traditional brushstrokes, or sprinkle a bit of magic, experiment with different brushes. Adjust the opacity for subtle effects or go all-in for bold statements.
Step 7: Experiment with Filters
GIMP’s filter menu is a treasure trove of possibilities. From artistic filters to distortion effects, take some time to play around and discover what complements your masterpiece. Play with the lighting filters, don’t be shy! Just remember, subtlety often triumphs over excess.
Step 8: Layer Magic
Layers are the secret sauce of digital art. They allow you to work on different elements independently, making experimentation and adjustments a breeze. Don’t hesitate to duplicate layers, apply different filters, or change blending modes to achieve that perfect look.
Step 9: Texturing for Authenticity
To infuse a touch of realism into your AI-generated art, consider adding textures. Sometimes in AI-gen images the skin looks like the plastic skin of a doll. This might be your vibe though, and if it is I’m not throwing shade on your kink. Anyway, GIMP lets you import textures and apply them as layers. Experiment with blending modes and opacities until you find the sweet spot that enhances your artwork without overpowering it.
Step 10: Saving and Sharing Your Masterpiece
Once you’re satisfied with your retouched artwork, it’s time to save and share your creation with the world. GIMP supports various file formats, so choose the one that suits your needs. Make sure to save your JPEGs and JPGs at 100% quality if you choose to use those types. Savor the moment: you’ve just added your unique flair to your sexy art.
Congrats! I’m proud of ya.